How To Press DTF Transfers: A Complete Guide 🖨️🔥
How To Press DTF Transfers - Direct-to-Film (DTF) printing has quickly become a favorite method in garment decoration. People choose it because it is versatile, affordable, and works on different fabrics. But the real secret lies in pressing. Applying the transfer correctly ensures durability and a professional look. This guide will walk you through every step.
What Are DTF Transfers?
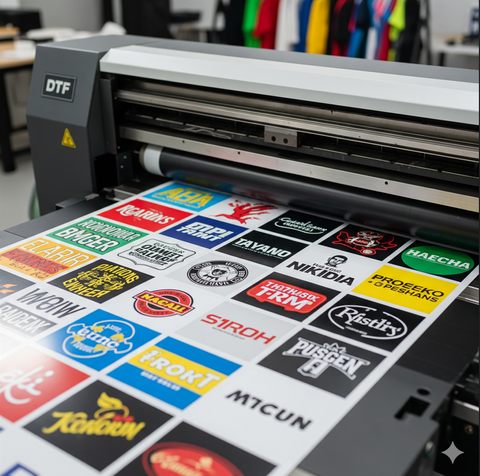
DTF stands for Direct-to-Film. The process begins with printing a design on a clear film using special inks. After that, adhesive powder is applied and cured. The prepared film can then be pressed onto fabrics using heat.
This method is popular because it works on cotton, polyester, blends, and even dark garments. Colors appear bright and stay vibrant after many washes. With the correct pressing method, designs remain smooth and resistant to peeling.
Why Pressing Is Important
Printing the film is only half of the process. The heat press brings the design to life. Correct temperature, pressure, and time create a strong bond between the fabric and the transfer.
If these elements are off, the print may not last. It could crack, fade, or peel away after just a few washes. That is why careful pressing is essential for professional results.
Tools You Will Need
To achieve the best outcome, gather the right equipment first: How To Press DTF Transfers?
-
Heat press machine with accurate temperature control
-
Teflon sheet or parchment paper
-
Prepared transfer film
-
The garment of your choice
A reliable setup ensures consistent results and fewer errors.
Step-by-Step Guide
Follow these steps to achieve clean, long-lasting prints: How To Press DTF Transfers
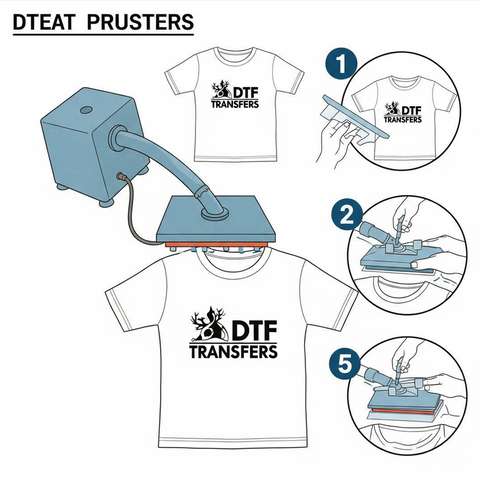
1. Preheat the Garment
Heat the garment for about 5 seconds. This helps remove moisture and smooth out wrinkles.
2. Position the Transfer
Place the film onto the fabric, with the design side touching the surface. Align carefully to avoid crooked prints.
3. Apply Heat
Set the press to around 300–325°F (150–160°C). Apply medium pressure for about 10–15 seconds.
4. Peel the Film
After pressing, let the fabric cool slightly. Peel the film carefully. Some films require hot peel, others cold peel, so always follow the product’s instructions.
5. Final Press
Place parchment or Teflon on top of the design. Press again for 5–10 seconds. This final step ensures the ink bonds tightly to the fabric.
Common Mistakes
Even small errors can ruin a design. Avoid these:
-
Pressing with too little heat, leading to poor adhesion
-
Skipping the pre-press step, which leaves moisture inside
-
Overheating, which can fade or dull colors
-
Applying uneven pressure, resulting in incomplete transfers
By keeping an eye on these details, you will avoid wasted materials.
Helpful Tips
Here are some simple but effective tips:
-
Always test on a spare fabric first
-
Store your transfer films in a cool, dry place
-
Use consistent pressure every time you press
-
Wait at least 24 hours before washing the garment
Following these tips makes pressing smoother and more reliable.
Why People Choose DTF
DTF technology is growing in popularity for several reasons:
-
Works on many different fabric types
-
Produces vivid, long-lasting colors
-
More affordable than traditional screen printing
-
Easy enough for beginners to learn
Whether you run a small shop or design for fun, this method delivers strong results.
Final Thoughts
Learning the process is not complicated. Start by preparing the garment, position the film, press at the right temperature, peel carefully, and finish with one more press.
With practice, pressing becomes second nature. Your designs will look professional, stay vibrant after many washes, and impress both customers and friends.
DTF printing is here to stay. By mastering the pressing technique, you set yourself up for long-term success in garment decoration.