5 products
The Ultimate Guide to Using a Best Heat Press for DTF Transfers
Press For DTF Transfers - Choosing the right best heat press is crucial for achieving high-quality DTF (Direct-to-Film) transfer. Press For DTF Transfers should offer consistent heat distribution, adjustable pressure, and a reliable timer. Look for models with digital controls and a large platen size to accommodate various shirt sizes.
Top Features to Consider
Temperature Control: Accurate temperature settings (150-160°C or 302-320°F) are essential.
Even Heat Distribution: Ensures uniform transfer without hot or cold spots.
Pressure Adjustment: Medium pressure is ideal for DTF transfers.
Durability: Opt for a sturdy, well-built heat press for long-term use.
How to Best Heat Press DTF Transfer
Follow these steps to achieve perfect DTF transfers: Press For DTF Transfers
Step 1: Preheat the Heat Press
Set the heat press to 150-160°C (302-320°F).
Step 2: Prepare the Shirt
Lay the shirt flat on the heat press platen and pre-press it for 5-10 seconds to remove moisture and wrinkles.
Step 3: Place the DTF Transfer
Position the DTF transfer film (print side down) onto the shirt.
Step 4: Apply Pressure
Use medium pressure and press the shirt for 10-15 seconds.
Step 5: Cool and Peel
Let the transfer cool down completely before peeling off the film (cold peel). This ensures the adhesive sets properly and prevents smudging.
Best Heat Press for DTF Transfer: Top Recommendations
Clamshell Heat Press: Easy to use and space-saving, ideal for small businesses.
Swing-Away Heat Press: Offers better visibility and even pressure distribution.
Cricut Heat Press: Suitable for smaller projects and DIY enthusiasts.
Best Heat Press for DTF Transfer Settings
Proper settings are essential for a successful DTF transfer:
-
Temperature: 150-160°C (302-320°F)
-
Time: 10-15 seconds
-
Pressure: Medium pressure
How to Press DTF-Transfer with a Cricut Heat Press
Cricut heat presses are popular for smaller projects. Here’s how to use one for DTF transfers: Heat Press For Dtf Transfers
Cricut Press Steps
Preheat the Cricut Press: Set it to 150°C (302°F).
Place the Transfer: Position the DTF film onto the fabric.
Apply Pressure: Press firmly for 15-20 seconds.
Cool Peel: Allow the film to cool before peeling.
Tips for Pressing DTF-Transfers
Pre-Pressing: Always pre-press the fabric to remove moisture.
Consistent Pressure: Ensure even pressure across the entire transfer.
Cold Peel: Wait for the transfer to cool completely for the best results.
DTF Transfer by Size
Customizing DTF Transfer Sizes
DTF transfer is available in various sizes, making them suitable for different applications:
Small Sizes: Ideal for logos, patches, or compact items like mugs and caps.
Medium Sizes: Commonly used for T-shirts, tote bags, and hoodies.
Large Sizes: Perfect for banners, oversized prints, or back designs on jackets.
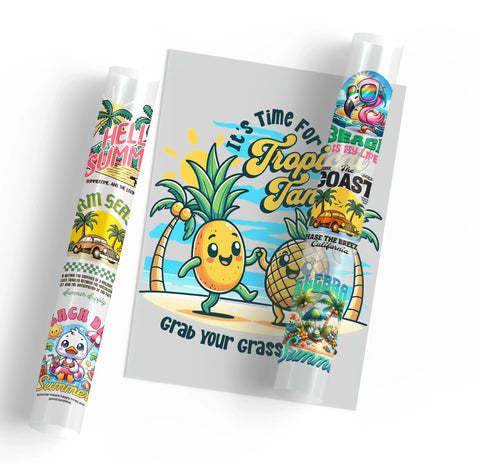
Custom DTF transfer by size are popular as they allow businesses to optimize designs for specific needs.
DTF Transfer Printer
What Is a DTF Transfer Printer?
A DTF transfer printer is a specialized printer capable of using DTF inks and PET films to produce high-quality transfers.
Features to Look for in a DTF Printer
-
Dual CMYK and white ink capability
-
High-resolution printing (minimum 1440 dpi)
-
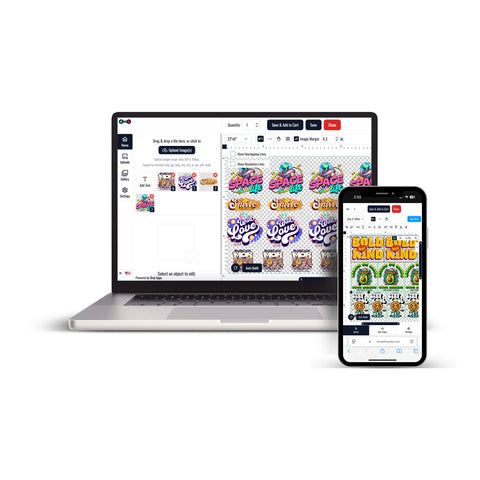
Compatibility with design software for custom layouts
Full-Color DTF Transfers
DTF-transfers excel in producing vibrant, full-color designs with intricate details. The white base layer ensures that colors remain vivid on dark fabrics. Using a high-quality heat press enhances these colors, ensuring a durable and professional finish.
Conclusion
Achieving Perfect DTF Transfer with a Heat Press
A reliable heat-press is essential for high-quality DTF-transfer. By selecting the right machine and following proper techniques, you can produce vibrant, durable prints on various fabrics. Whether you're using a professional-grade heat press or a Cricut for small projects, mastering the DTF-transfer process ensures outstanding results every time.
Follow Us on Social Media
Stay connected with us on social media to see new products, real customer prints, application tips, and behind-the-scenes content. We regularly share updates, tutorials, and inspiration to help you get the best results from your custom apparel projects.
. TikTok – https://www.tiktok.com/@ohiodtftransfer
Short videos, press tips, and real-life DTF applications.
. Instagram – https://www.instagram.com/dtftransferohio/
Product highlights, customer showcases, and design inspiration.
. Facebook – https://www.facebook.com/dtftransferohio/
Updates, announcements, and direct communication with our community.
Follow us to stay up to date with the latest trends, techniques, and releases in custom apparel and DTF printing.


